
项目拓展-在Java项目中调用Python代码,Jpython快速入门
本文介绍了三种在Java中调用Python程序的方法:1. 使用Jython直接解析Python代码,但存在不支持Python3和第三方库的局限性;2. 通过Runtime.exec()执行Python脚本,能调用包含第三方库的Python3程序;3. 使用PyInstaller将Python脚本打包为可执行文件,方便跨平台分发。重点演示了每种方法的实现代码和注意事项,包括参数传递、错误处理以及P
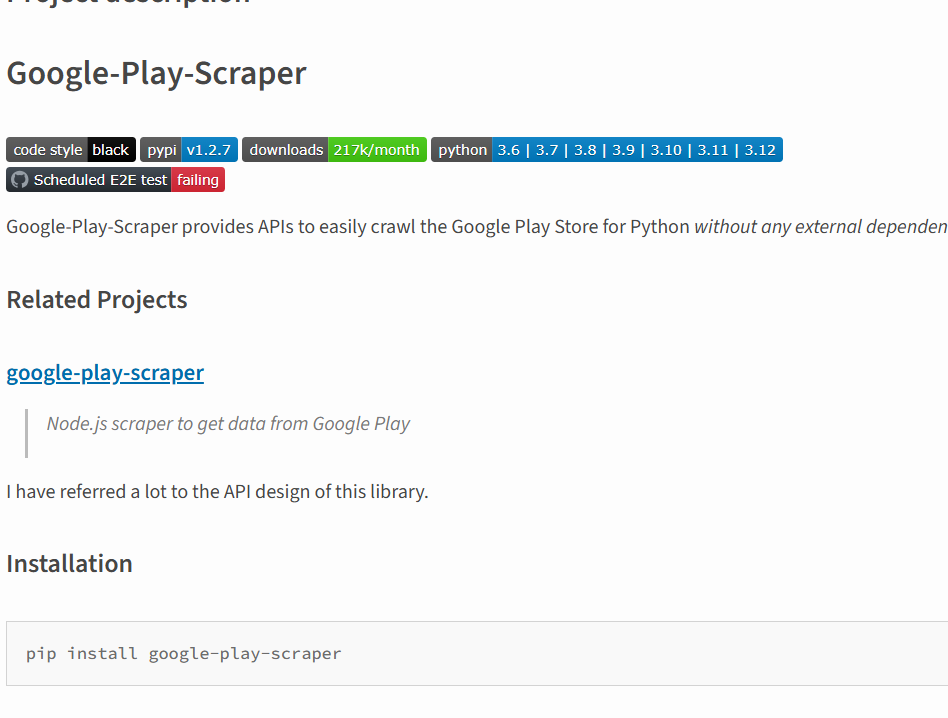
在pycharm命令行终端输入命令
pip install google-play-scraper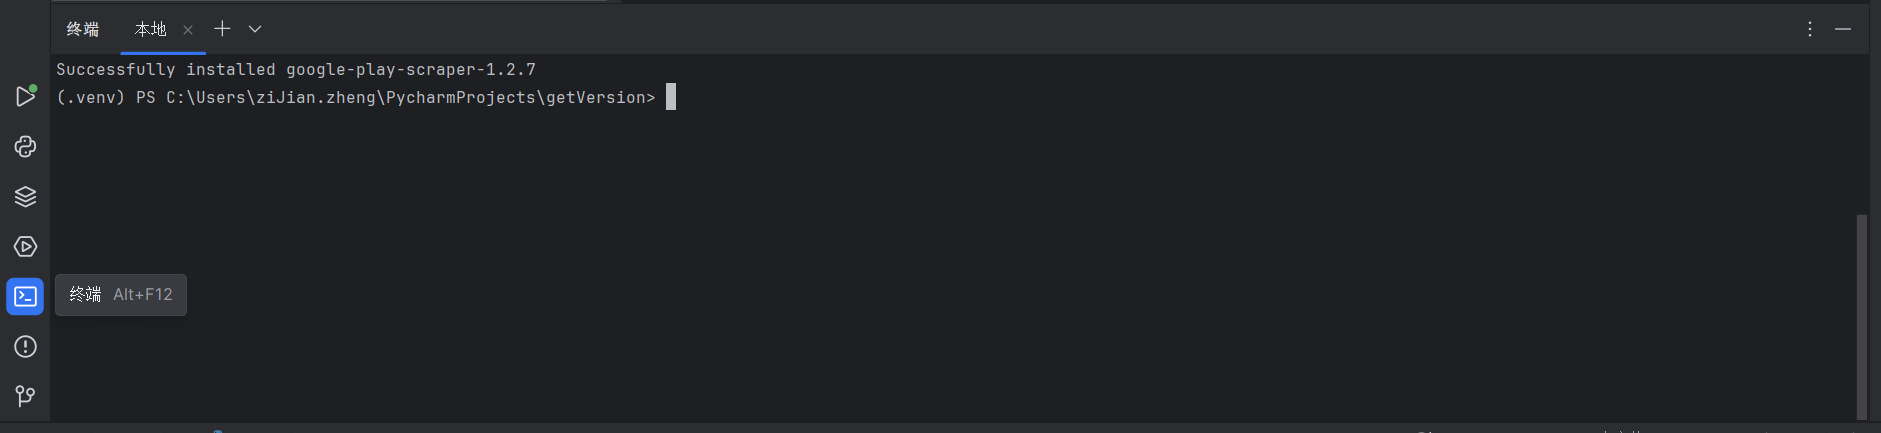
导入jpython-standalone依赖
<dependency>
    <groupId>org.python</groupId>
    <artifactId>jython-standalone</artifactId>
    <version>2.7.4</version>
</dependency>
编写测试类测试
我们new一个PythonInterpreter类
package com.example.kiratest.test;

import org.junit.jupiter.api.Test;
import org.python.util.PythonInterpreter;

public class TestPy {

    @Test
    public void test(){
        PythonInterpreter interpreter = new PythonInterpreter();
        interpreter.exec("a=[5,2,3,9,4,0]; ");
        interpreter.exec("print(sorted(a));");  //此处python语句是3.x版本的语法
        interpreter.exec("print sorted(a);");   //此处是python语句是2.x版本的语法
    }
}
运行结果

(简单)在java中执行py脚本
简单的add函数

def add(a,b):
    return a + b
测试类
我们先new一个PythonInterpreter对象
然后我们用PythonInterpreter对象的execfile()来读取我们的py文件
然后用get()来指定我们要使用的py函数名(我们这次用的是add),得到我们的PyFunction对象
然后用PyFunction对象的__call__()来向函数传参数,执行我们对应的函数
最后记得用PythonInterpreter对象的close()来关闭解释器释放资源
package com.example.kiratest.test;
import org.python.core.PyFunction;
import org.python.core.PyInteger;
import org.python.core.PyObject;
import org.python.util.PythonInterpreter;
public class Java_Python_test {
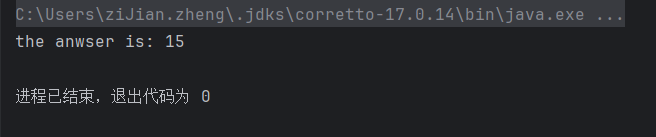
public static void main(String[] args) {
// 创建Python解释器实例,用于执行Python代码
PythonInterpreter interpreter = new PythonInterpreter();
// 执行指定路径下的Python脚本文件
// 参数说明:"C:\\Users\\ziJian.zheng\\PycharmProjects\\getVersion\\Kira\\add.py" 是Python脚本的绝对路径
interpreter.execfile("C:\\Users\\ziJian.zheng\\PycharmProjects\\getVersion\\Kira\\add.py");
// 从Python解释器中获取名为"add"的函数
// 第一个参数"add":要获取的Python函数名
// 第二个参数PyFunction.class:指定返回类型为Python函数类型
PyFunction pyFunction = interpreter.get("add", PyFunction.class);
// 定义两个整数变量,作为要传递给Python函数的参数
int a = 5, b = 10;
// 调用Python函数,并传递参数
// 注意:Java中的参数需要先转换为Python的对应类型(这里用PyInteger包装int类型)
PyObject pyobj = pyFunction.__call__(new PyInteger(a), new PyInteger(b));
// 打印Python函数的返回结果
System.out.println("the answer is: " + pyobj);
// 最后应该关闭解释器释放资源(建议添加)
interpreter.close();
}
}运行结果
使用Runtime.getRuntime()执行py脚本
参考文章:Java调用Python程序方法总结(最全最详细)_java可以调用python接口吗-CSDN博客
问题所在
以上两个方法虽然都可以调用python程序,但是使用Jpython调用的python库不是很多
如果你用以上两个方法调用,而python的程序中使用到第三方库
这时就会报错java ImportError: No module named xxx
遇到这种情况推荐使用下面的方法,即可解决该问题
java代码指定使用py3
PS:我们要显示指定用py3
cmd
然后输入
where python就可以找到我们安装的python版本的路径

安装numpy软件包
我们用的是python3
pip3 install numpy我们cmd进入命令行,然后输入这串安装代码,确保numpy安装到python3环境中
PS:我们所有的用java调用的时候,我们都要在windows本地安装对应的软件包
直接调用含numpy库的py脚本
程序中用到了numpy第三方库,并初始化了一个3×4的一个矩阵
py代码
import numpy as np

a = np.arange(12).reshape(3,4)
print(a)
java代码
package com.example.kiratest.test;

import java.io.BufferedReader;
import java.io.InputStreamReader;

public class TestUseNumpy {
    public static void main(String[] args) {
        try {
            String[] cmd = {
                    "C:\\Program Files\\Python311\\python.exe", // 或 "python3"
                    "C:\\Users\\ziJian.zheng\\PycharmProjects\\getVersion\\Kira\\testNumpy.py"
            };

            Process proc = Runtime.getRuntime().exec(cmd);

            // 读取正常输出
            BufferedReader in = new BufferedReader(new InputStreamReader(proc.getInputStream()));
            // 读取错误输出
            BufferedReader err = new BufferedReader(new InputStreamReader(proc.getErrorStream()));

            String line;
            while ((line = in.readLine()) != null) {
                System.out.println(line);
            }

            // 打印错误信息
            while ((line = err.readLine()) != null) {
                System.err.println("ERROR: " + line);
            }

            in.close();
            err.close();

            int exitCode = proc.waitFor();
            System.out.println("Process exit: " + exitCode);

        } catch (Exception e) {
            e.printStackTrace();
        }
    }


}
运行结果
调用含库脚本并传参给函数,得到输出结果
py代码
import sys


def func(a, b):
    return (a + b)


if __name__ == '__main__':
    a = []
    for i in range(1, len(sys.argv)):
        a.append((int(sys.argv[i])))

    print(func(a[0], a[1]))
java代码
package com.example.kiratest.test;

import org.springframework.boot.test.context.SpringBootTest;

import java.io.BufferedReader;
import java.io.IOException;
import java.io.InputStreamReader;

@SpringBootTest
public class Test {

    @org.junit.jupiter.api.Test
            void test() {
        int a = 18;
        int b = 23;
        try {
            String[] args = new String[]{"C:\\Program Files\\Python311\\python.exe", "C:\\Users\\ziJian.zheng\\PycharmProjects\\getVersion\\Kira\\test.py",
            String.valueOf(a), String.valueOf(b)};//传参数,传参数a和参数b

            Process proc = Runtime.getRuntime().exec(args);// 执行py文件

            BufferedReader in = new BufferedReader(new InputStreamReader(proc.getInputStream()));
            String line = null;
            while ((line = in.readLine()) != null) {
                System.out.println(line);
            }
            in.close();
            proc.waitFor();
        } catch (IOException e) {
            e.printStackTrace();
        } catch (InterruptedException e) {
            e.printStackTrace();
        }
    }
}
运行结果
什么是pyInstaller
PyInstaller 是一个十分实用的第三方 Python 库,其功能是把 Python 脚本打包成独立的可执行文件
这意味着即使在没有安装 Python 环境的机器上也能运行该脚本
特点
- 跨平台支持:PyInstaller 支持在 Windows、macOS、Linux 等多种操作系统上使用,并且能将 Python 脚本打包成对应系统的可执行文件。
- 依赖处理:它会自动分析脚本的依赖项,将所有必要的库和文件一并打包,保证可执行文件在不同环境中都能正常运行。
- 单文件打包:可以将 Python 脚本及其依赖项打包成单个可执行文件,方便分发和使用
安装
安装pyinstaller软件包
pip3 install pyinstaller查看pyinstaller是否成功安装
pip show pyinstaller查看pyinstaller安装到哪里
where pyinstaller安装pyinstaller到不正确的目录我们可以卸载
pip uninstall pyinstaller假设我们有个main.py,如果我们要把它打包成可执行文件
1.进入main.py所在的目录
2.在命令行中输入下列命令
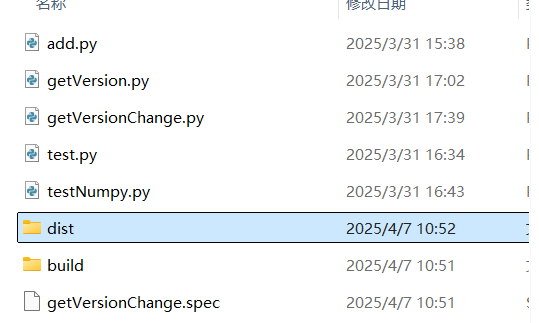
pyinstaller main.py3.打包完成后,会在目录下生成一个dist文件夹,里面包含了可执行文件
里面有一个可执行的exe文件
基于参数安装
--onefile
将所有依赖项打包成单个可执行文件
pyinstaller --onefile main.py--windowed
在 Windows 和 macOS 上打包 GUI 应用时,不显示命令行窗口
pyinstaller --onefile --windowed main.py--icon
为可执行文件指定图标
pyinstaller --onefile --windowed --icon=app.ico main.pyLinux环境安装
先安装wheel
pip3 install wheel安装c编译器
# 安装开发工具链(包括 gcc)
sudo yum groupinstall "Development Tools"
# 安装 Python 开发依赖
sudo yum install python3-devel zlib-devel
安装zlib
sudo yum install zlib-devel安装
pip3 install pyinstaller然后打包
pyinstaller --onefile main.py
进入dist文件夹,查看我们的打包成功的东西


GitCode 天启AI是一款由 GitCode 团队打造的智能助手,基于先进的LLM(大语言模型)与多智能体 Agent 技术构建,致力于为用户提供高效、智能、多模态的创作与开发支持。它不仅支持自然语言对话,还具备处理文件、生成 PPT、撰写分析报告、开发 Web 应用等多项能力,真正做到“一句话,让 Al帮你完成复杂任务”。
更多推荐


 32
32 0
0- 0


 已为社区贡献1条内容

所有评论(0)