
ChatGPT Plus / Pro + Codex 开通后实战指南(2026年9月2日)
1. 引言
2026 年,OpenAI 的 ChatGPT Plus 与 Pro 订阅方案,配合 Codex 编程智能体,已经成为开发者日常工作中不可或缺的工具组合。很多朋友升级到 Plus 或 Pro 之后,只知道用网页聊天,却不知道如何把 Codex 的能力真正接入自己的开发流程。这篇文章不聊充值、不聊账号,只聊技术:如何用 Codex 在真实项目中完成代码生成、仓库级重构、自动化测试与 CI 集成。
本文默认你已拥有 ChatGPT Plus 或 Pro 订阅,并能在 ChatGPT 界面中访问 Codex 入口。我们将从环境准备开始,逐步深入到多文件工程实战,最后给出一个完整的自动化示例。
2. 环境准备与 Codex 入口
2.1 订阅差异对 Codex 的影响
Plus 与 Pro 在 Codex 使用上有明显差异,先明确再动手:
| 能力项 | ChatGPT Plus | ChatGPT Pro |
|---|---|---|
| Codex 云任务额度 | 基础额度 | 更高额度与优先级 |
| 代码解释器会话 | 有限 | 更多并行会话 |
| 长上下文处理 | 标准 | 增强 |
| 高级数据分析和文件上传 | 支持 | 支持且更强 |
Pro 用户更适合长时间运行的大型重构任务,而 Plus 用户在日常小步提交场景下也完全够用。
2.2 本地环境要求
无论使用哪种订阅,本地都需要准备:
# 推荐 Node.js 18+ 或 Python 3.10+
node -v
python3 --version

# 安装 Git,Codex 的仓库级操作依赖它
git --version

# 安装 OpenAI CLI(可选,用于脚本化调用)
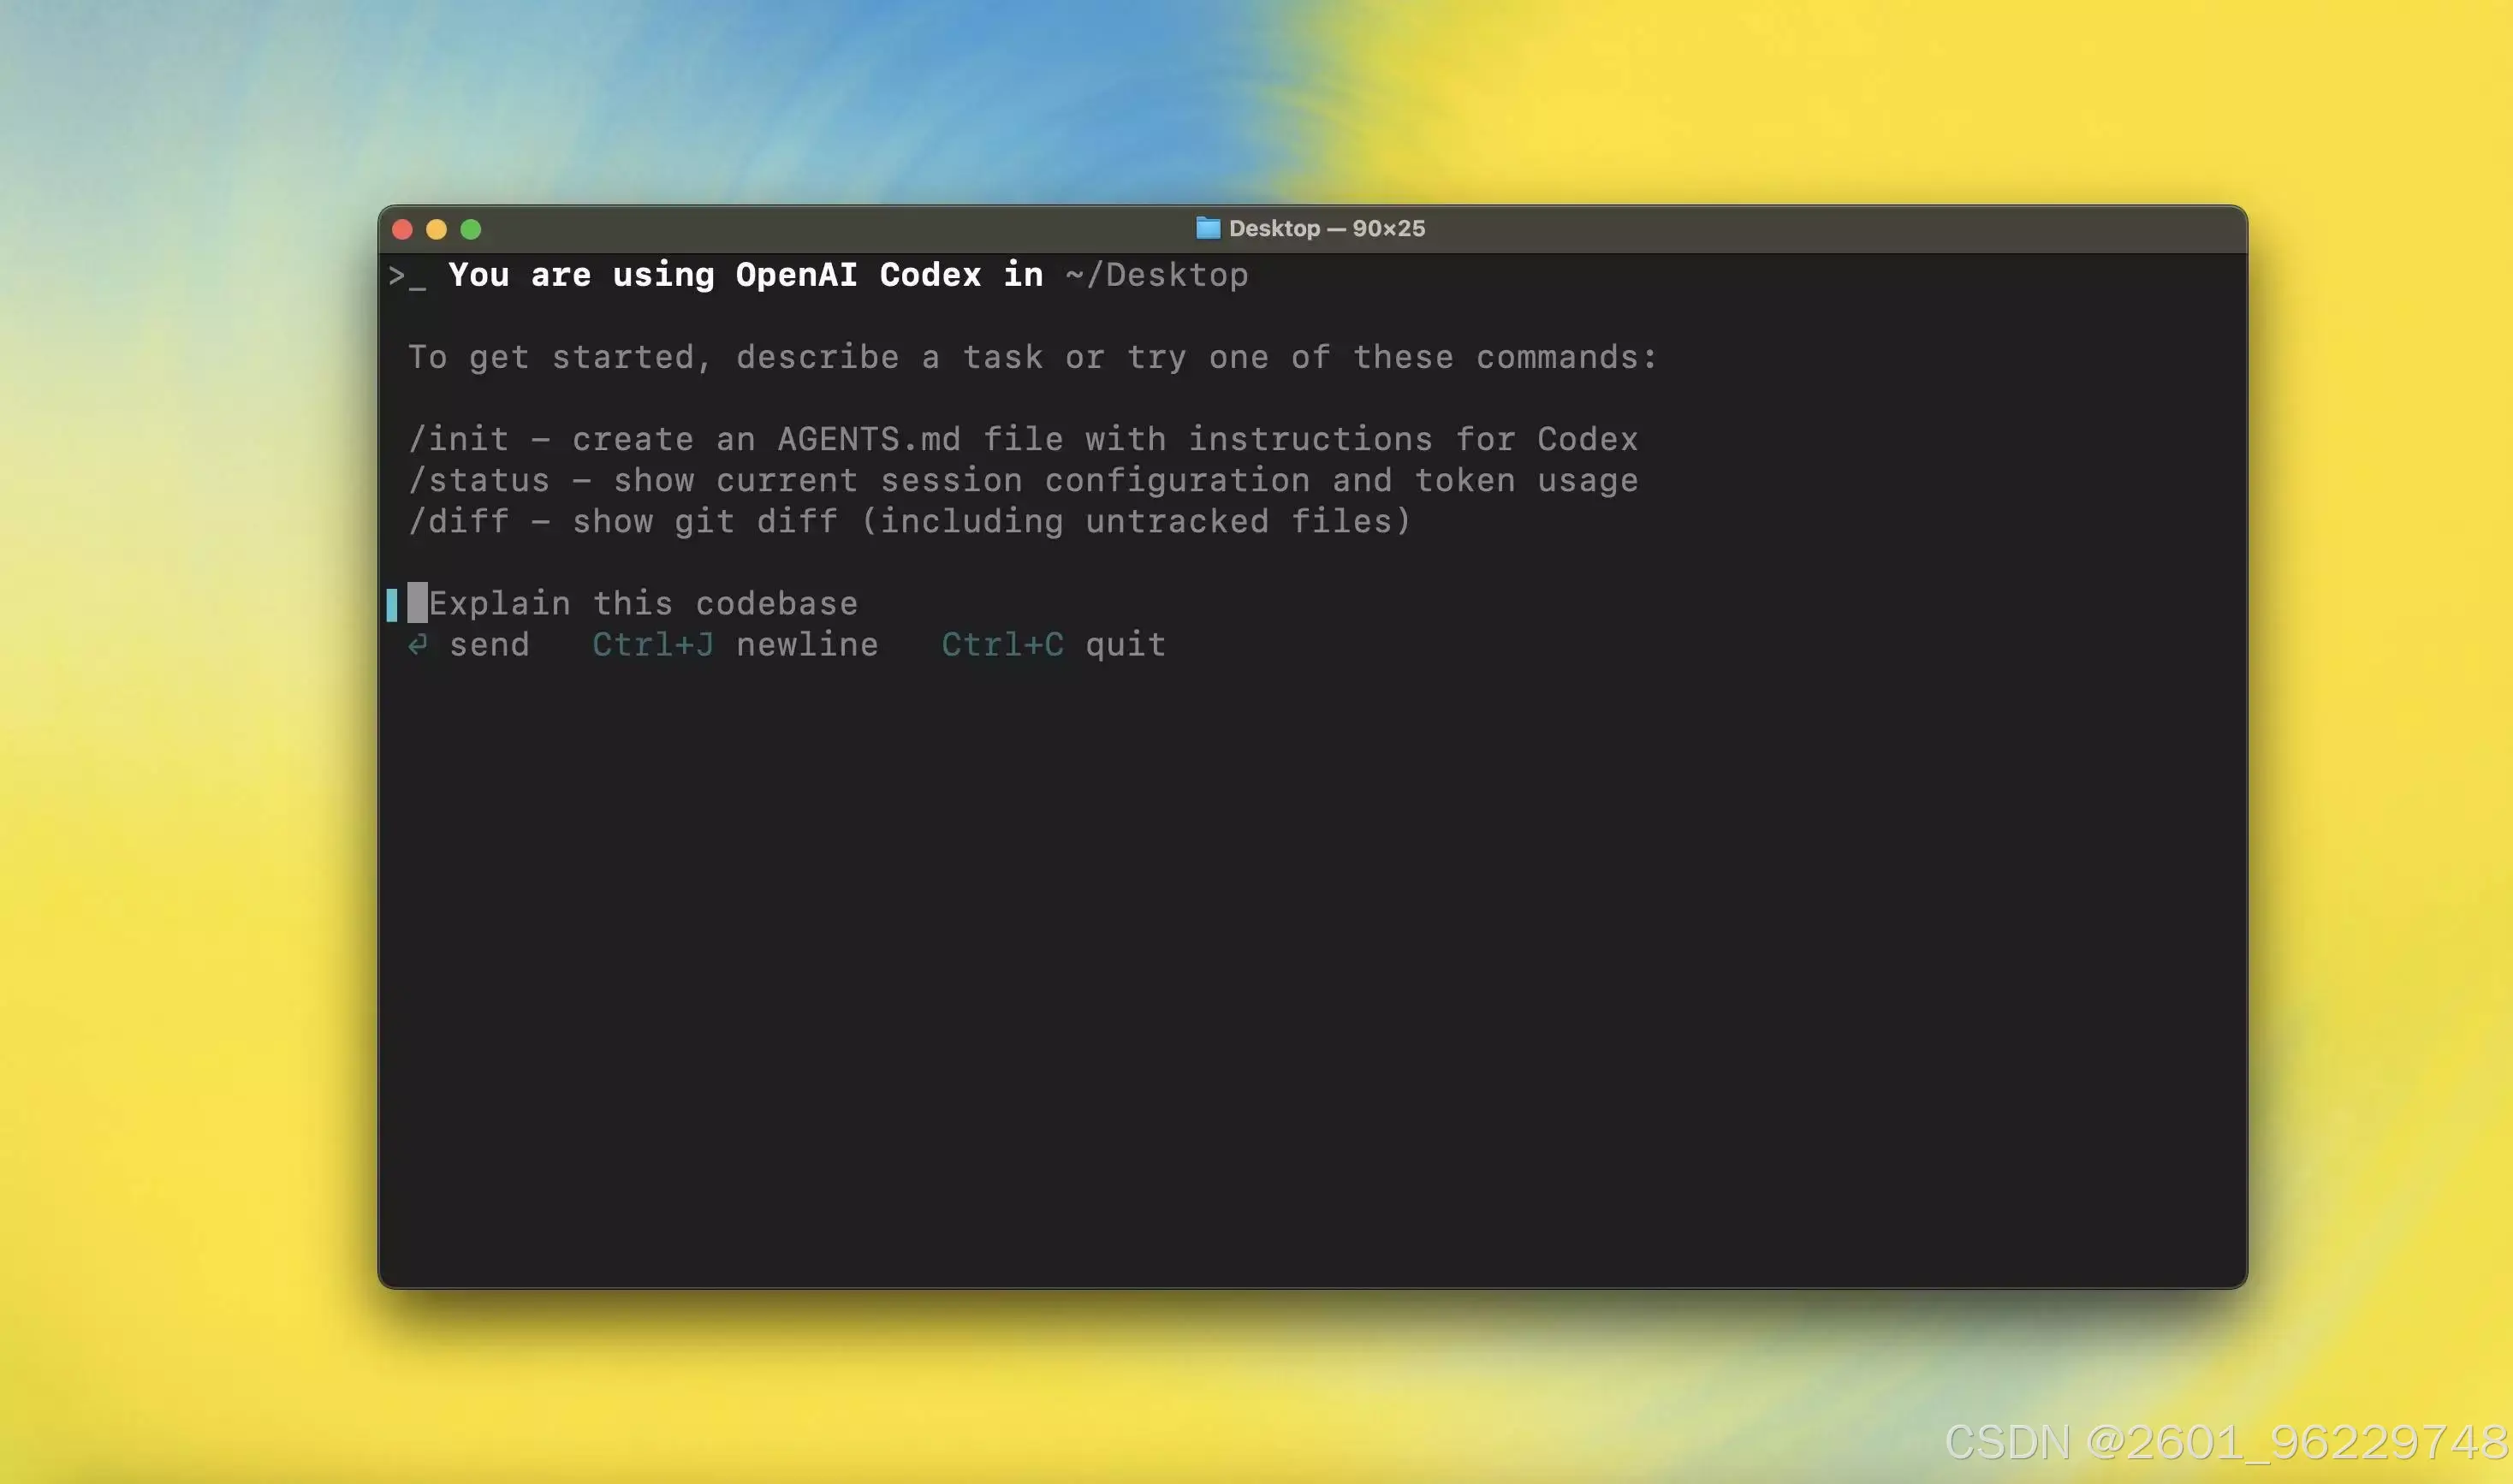
npm install -g @openai/codex
安装完成后,验证 Codex CLI 是否可用:
codex --version
如果输出版本号,说明本地环境已经就绪。
3. Codex 的核心工作模式
3.1 对话式代码生成
在 ChatGPT 的 Codex 界面中,你可以直接用自然语言描述需求。Codex 会结合当前仓库上下文生成代码,而不是孤立地给出一段片段。
例如,在空目录中初始化一个项目:
mkdir my-api && cd my-api
git init
然后在 Codex 对话框中输入:
创建一个 Express 风格的 REST API 项目,包含用户注册和登录接口,使用 SQLite 存储数据,并提供单元测试。
Codex 会自动生成目录结构、依赖文件、路由代码和测试文件。
3.2 仓库级理解
Codex 的独特之处在于它能读取整个仓库结构。你可以要求它:
分析当前仓库的架构,找出循环依赖,并给出重构建议。
它会扫描文件之间的引用关系,输出依赖分析报告。这种能力在接手陌生项目时尤其有用。
4. 实战:用 Codex 生成一个完整的待办事项 API
下面我们用一个完整示例,演示从零到测试通过的全过程。
4.1 项目初始化
在 Codex 对话框中输入:
初始化一个 TypeScript 项目,使用 Fastify 框架,提供待办事项的增删改查接口,数据用内存数组存储,并包含类型定义。
Codex 会生成类似下面的文件结构:
todo-api/
├── package.json
├── tsconfig.json
├── src/
│   ├── index.ts
│   ├── types.ts
│   └── routes/
│       └── todos.ts
└── test/
    └── todos.test.ts
4.2 核心代码示例
Codex 生成的 src/types.ts 可能如下:
export interface Todo {
  id: number;
  title: string;
  completed: boolean;
  createdAt: Date;
}

export type CreateTodoInput = Pick<Todo, 'title'>;
路由文件 src/routes/todos.ts:
import { FastifyInstance } from 'fastify';
import { Todo, CreateTodoInput } from '../types';

let todos: Todo[] = [];
let nextId = 1;

export async function todoRoutes(app: FastifyInstance) {
  app.get('/todos', async () => {
    return todos;
  });

  app.post<{ Body: CreateTodoInput }>('/todos', async (request, reply) => {
    const { title } = request.body;
    if (!title || title.trim().length === 0) {
      return reply.code(400).send({ error: 'title is required' });
    }
    const todo: Todo = {
      id: nextId++,
      title: title.trim(),
      completed: false,
      createdAt: new Date(),
    };
    todos.push(todo);
    return reply.code(201).send(todo);
  });

  app.put<{ Params: { id: string }; Body: Partial<Todo> }>(
    '/todos/:id',
    async (request, reply) => {
      const id = Number(request.params.id);
      const todo = todos.find((t) => t.id === id);
      if (!todo) {
        return reply.code(404).send({ error: 'todo not found' });
      }
      if (request.body.title !== undefined) {
        todo.title = request.body.title;
      }
      if (request.body.completed !== undefined) {
        todo.completed = request.body.completed;
      }
      return todo;
    }
  );

  app.delete<{ Params: { id: string } }>('/todos/:id', async (request, reply) => {
    const id = Number(request.params.id);
    const index = todos.findIndex((t) => t.id === id);
    if (index === -1) {
      return reply.code(404).send({ error: 'todo not found' });
    }
    todos.splice(index, 1);
    return reply.code(204).send();
  });
}
入口文件 src/index.ts:
import Fastify from 'fastify';
import { todoRoutes } from './routes/todos';

const app = Fastify({ logger: true });

app.register(todoRoutes);

const start = async () => {
  try {
    await app.listen({ port: 3000 });
  } catch (err) {
    app.log.error(err);
    process.exit(1);
  }
};

start();
4.3 让 Codex 补充测试
继续在对话框中输入:
为上面的待办事项接口编写单元测试,使用 Node 内置测试运行器,覆盖创建、查询、更新和删除四个场景。
Codex 会生成 test/todos.test.ts:
import { test, before } from 'node:test';
import assert from 'node:assert';
import Fastify from 'fastify';
import { todoRoutes } from '../src/routes/todos';

async function buildApp() {
  const app = Fastify();
  await app.register(todoRoutes);
  return app;
}

test('POST /todos 创建待办', async () => {
  const app = await buildApp();
  const response = await app.inject({
    method: 'POST',
    url: '/todos',
    payload: { title: '学习 Codex' },
  });
  assert.strictEqual(response.statusCode, 201);
  const body = response.json();
  assert.strictEqual(body.title, '学习 Codex');
  assert.strictEqual(body.completed, false);
});

test('GET /todos 返回列表', async () => {
  const app = await buildApp();
  await app.inject({
    method: 'POST',
    url: '/todos',
    payload: { title: '任务一' },
  });
  const response = await app.inject({ method: 'GET', url: '/todos' });
  assert.strictEqual(response.statusCode, 200);
  const body = response.json();
  assert.ok(Array.isArray(body));
  assert.strictEqual(body.length, 1);
});

test('PUT /todos/:id 更新待办', async () => {
  const app = await buildApp();
  const created = await app.inject({
    method: 'POST',
    url: '/todos',
    payload: { title: '待更新' },
  });
  const { id } = created.json();
  const response = await app.inject({
    method: 'PUT',
    url: `/todos/${id}`,
    payload: { completed: true },
  });
  assert.strictEqual(response.statusCode, 200);
  assert.strictEqual(response.json().completed, true);
});

test('DELETE /todos/:id 删除待办', async () => {
  const app = await buildApp();
  const created = await app.inject({
    method: 'POST',
    url: '/todos',
    payload: { title: '待删除' },
  });
  const { id } = created.json();
  const response = await app.inject({
    method: 'DELETE',
    url: `/todos/${id}`,
  });
  assert.strictEqual(response.statusCode, 204);
});
运行测试:
npm test
如果测试全部通过,说明 Codex 生成的代码可以直接落地。
5. 用 Codex 做代码审查与重构
5.1 自动代码审查
把 Codex 当作一个不休息的审查员。在对话框中输入:
审查 src 目录下的代码,找出潜在的内存泄漏、类型安全问题和不规范命名。
Codex 会逐文件分析并给出修改建议。对于 Plus 用户,建议一次只审查一个模块,避免超出上下文窗口;Pro 用户可以尝试整仓审查。
5.2 重构示例
假设你有一个函数写得比较冗长:
function processOrder(order: any) {
  if (order.status === 'pending') {
    if (order.payment) {
      if (order.payment.method === 'card') {
        // 处理卡支付
      } else {
        // 处理其他支付
      }
    }
  }
}
让 Codex 重构:
把 processOrder 中的嵌套 if 改写成卫语句风格,并拆分成多个小函数。
Codex 会输出类似结果:
function processOrder(order: Order) {
  if (order.status !== 'pending') {
    return;
  }
  if (!order.payment) {
    return;
  }
  handlePayment(order.payment);
}

function handlePayment(payment: Payment) {
  if (payment.method === 'card') {
    handleCardPayment(payment);
  } else {
    handleOtherPayment(payment);
  }
}
这种重构让代码可读性大幅提升,而且 Codex 会同步更新类型定义。
6. 将 Codex 接入 CI 流程
6.1 生成 GitHub Actions 配置
在项目根目录让 Codex 生成 CI 配置:
为这个 TypeScript 项目生成 GitHub Actions 工作流,包含安装依赖、运行 lint、执行测试三个步骤。
Codex 会生成 .github/workflows/ci.yml:
name: CI

on:
  push:
    branches: [main]
  pull_request:
    branches: [main]

jobs:
  build:
    runs-on: ubuntu-latest

    steps:
      - uses: actions/checkout@v4

      - name: Setup Node.js
        uses: actions/setup-node@v4
        with:
          node-version: '20'
          cache: 'npm'

      - name: Install dependencies
        run: npm ci

      - name: Run lint
        run: npm run lint

      - name: Run tests
        run: npm test
6.2 本地模拟 CI
在推送之前,可以在本地模拟 CI 流程:
npm ci
npm run lint
npm test
Codex 还能帮你把这三条命令封装成一个脚本:
创建一个 npm script 叫 check,依次执行 lint 和 test。
修改 package.json:
{
  "scripts": {
    "check": "npm run lint && npm test"
  }
}
之后只需运行:
npm run check
7. 进阶技巧与注意事项
7.1 善用上下文约束
给 Codex 下指令时,明确约束条件能显著提升输出质量。例如:
使用 Fastify 4.x,TypeScript 严格模式,不要引入额外的 ORM,用原生 SQL。
约束越具体,Codex 越不容易自由发挥。
7.2 分步提交
对于大型任务,不要一次性让 Codex 生成全部代码。建议按以下顺序分步进行:
第一步:生成项目结构和类型定义。
第二步:实现路由。
第三步:补充测试。
第四步:生成 CI 配置。
每一步完成后检查代码,再进入下一步。这样即使某一步出错,也容易定位。
7.3 处理 Codex 生成的代码
Codex 生成的代码并非总是完美。需要注意:
- 检查是否有未使用的导入。
- 确认错误处理是否完整。
- 验证边界条件是否覆盖。
- 运行测试确认行为符合预期。
7.4 上下文窗口管理
Plus 用户在处理超大仓库时,建议把 Codex 的工作范围限定在特定目录:
只分析 src/services 目录下的文件,忽略 test 目录。
这样可以减少上下文占用,提高响应速度。
8. 总结
ChatGPT Plus 与 Pro 配合 Codex,为开发者提供了一条从需求到代码、从测试到 CI 的完整自动化链路。Plus 适合日常开发辅助,Pro 适合大规模重构和长时间任务。关键在于把 Codex 当作协作伙伴,而不是完全依赖的代码生成器——明确约束、分步推进、持续验证,才能让 AI 真正成为生产力。
希望这篇实战指南能帮你把 Codex 用起来。如果你有更好的用法,欢迎在评论区交流。

AtomGit AI 社区提供模型库、数据集、Agent、Token等资源
更多推荐

 19
19 0
0- 0


 已为社区贡献65条内容

所有评论(0)